I believe I was overly ambitious in expecting to get both saw donkeys dry fitted tonight. As it was, I barely got the first one done by 1700. Working 4x4s is a lot different with hand tools than using machines. A lot more relaxing with the hand tools but requires more effort with them.
 |
| daylight |
The shoulder is out of square but in my favor. I have to chisel downward toward the shoulder cheek junction and it will be dead on.
 |
| chiseling my second tenon |
I did all of the tenons with this chisel. It wasn't as difficult as I thought it would be. My concerns were getting it flat and straight. I chiseled from both sides and I didn't get the hump I thought I would. However, I did miss a step in doing this yesterday that I corrected today.
 |
| using the corner |
I was able to shave away at the tenon using the corner of the chisel but I had problems at the edge. I had to start past the edge and then come back to it.
 |
| what I missed doing |
The first step is to chisel off a piece of the edge at an angle. That gives me a spot to start maneuvering the corner of the chisel.
 |
| starting point |
 |
| much better this time around |
 |
| not too bad |
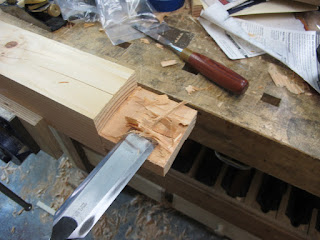
It is pretty flat all ways across the face. I did have a slight hump that I saw with the square and removed. A hump is much better than a hollow. I watched the chisel as I worked across the tenon face and I never was 100% sure that I was chiseling flat. For me it isn't something that I could see or gauge. I guess that will come with more practice.
 |
| laying out the tenon |
When I did the squaring of the 4x4s I made sure that they were square and the same on all 4 faces. I then shifted into anal mode and centered the mortise gauge on the 4x4. My layout was such that the mortise and tenons are the same so I only needed one gauge and one setting. And it didn't matter which face I picked to run my gauge. I did mark for the tenons and mortises from the same face when I laid out the individual ones.
 |
| sawing tenons |
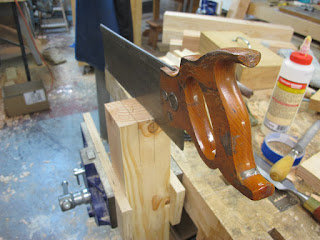
I saw parallel to the gauge line and about a 16th away from it. I placed a square against the saw to ensure that this saw cut was square.
 |
| first saw cut about an 8th of inch or so deep |
 |
| saw down the first cheek |
I ignore the top saw cut and concentrate on the saw going down the cheek at an angle. The saw will track in the first saw cut while I do this second one. I used to worry about this and tried my best to watch both saw cuts. This way is working for me. It won't fit the mortise off the saw but I don't mind trimming it to fit.
Once I have sawn down at an angle to shoulder I stop and repeat this on the other side. Once the two angled cuts are made, I saw straight down. Repeat for the other tenon cheek.
 |
| last time for this |
I sawed the cheek first and then did the shoulder. I usually do the shoulder first and then the cheek but I had to see if there was any difference. I didn't see or feel any difference and I think I'll stick with doing shoulder then cheek.
 |
| can't forget to offset this next tenon |
|
 |
| knot slowed things down |
The knots (I had three of them) didn't present any special hiccups. I had to go a lot slower and I had to take smaller bites. I got through and around them, it just took a few extra minutes.
 |
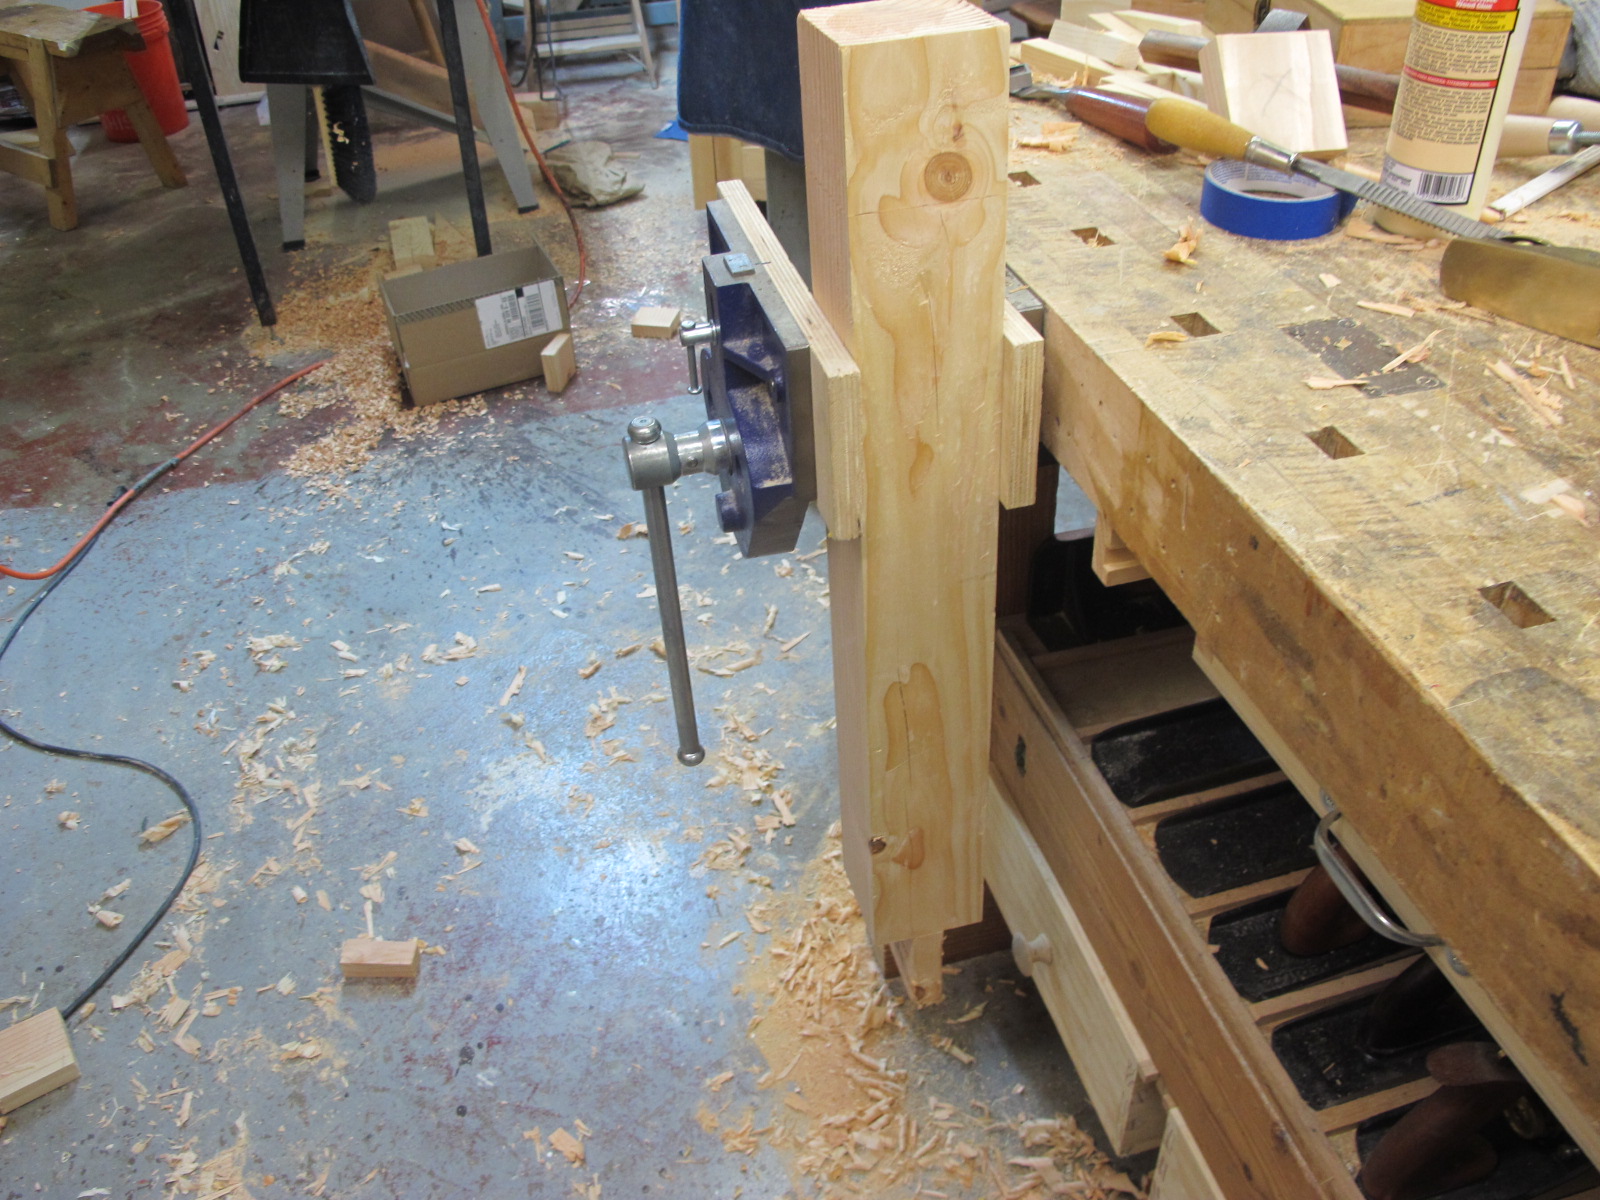
| one saw donkey dry fitted |
|
 |
| less than stellar joinery |
I'll be wedging or doing something with this. I took off a little more than I should of on this tenon. It is loose and barely self supporting for only a 1/2 second.
 |
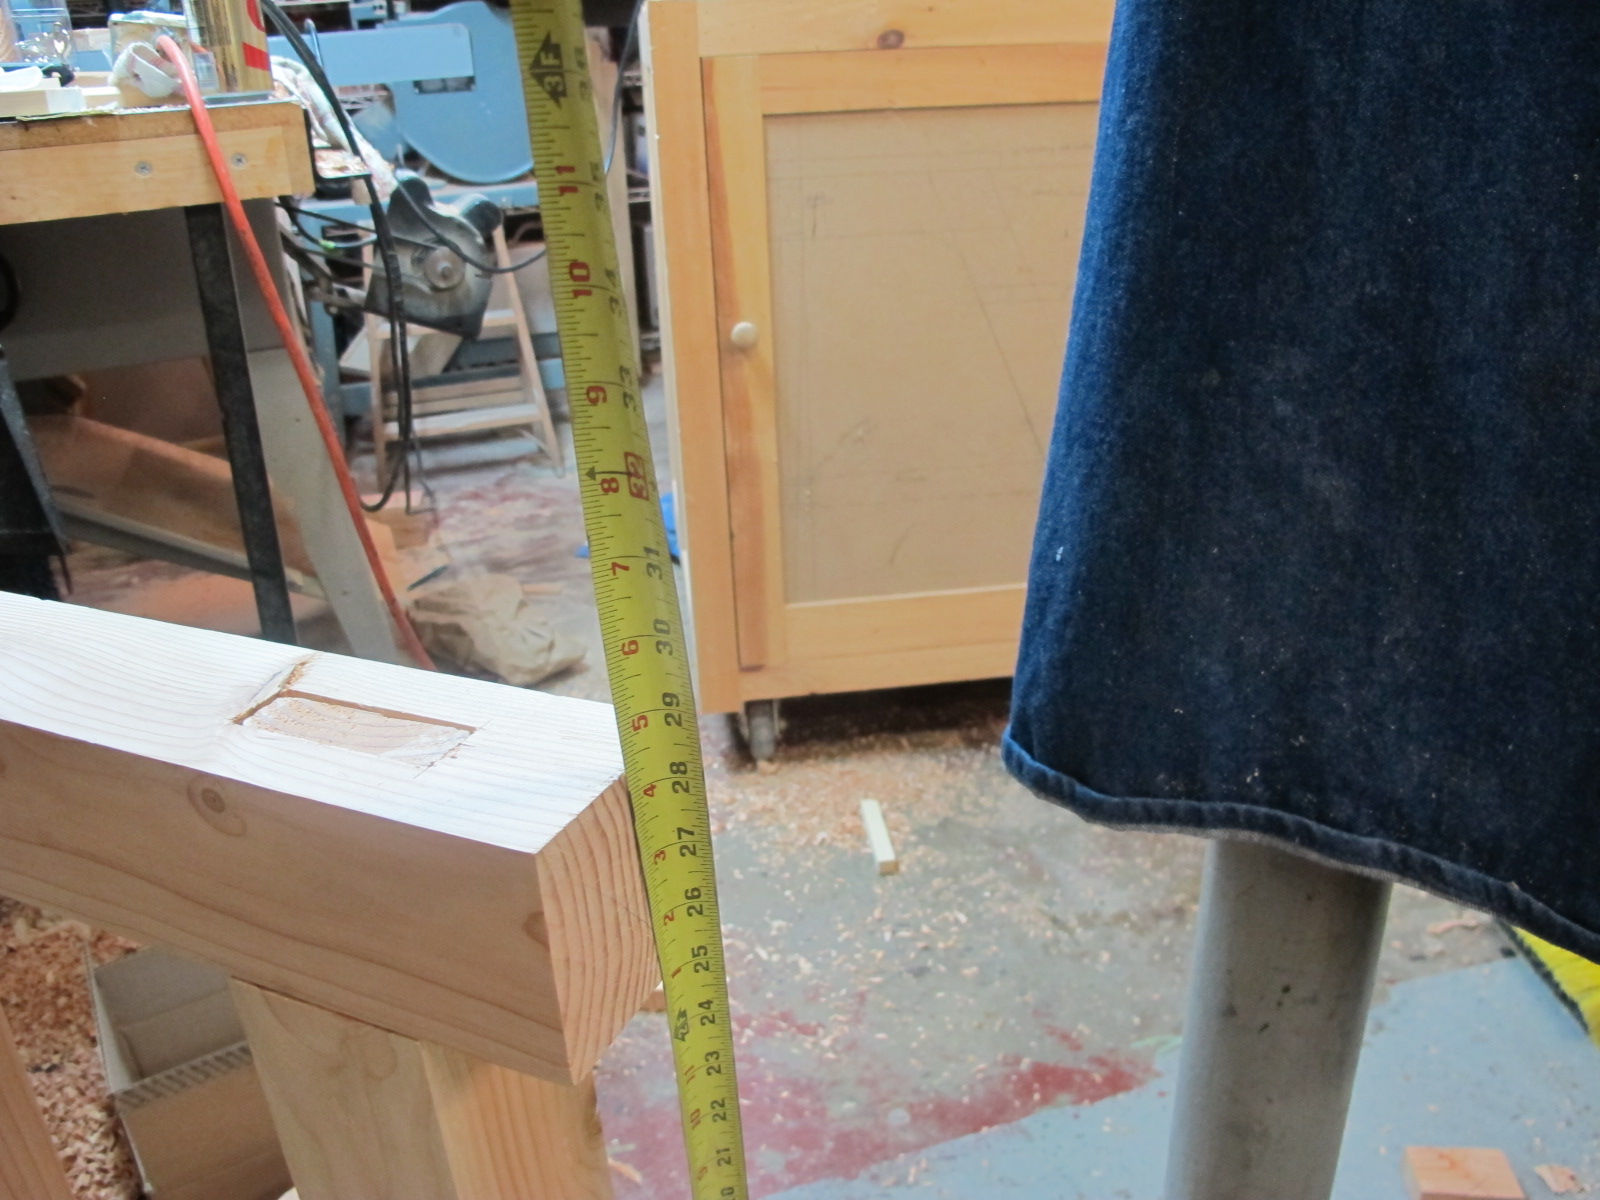
| about 28" high |
This is the height that Richard made his and I am starting with that. I don't want it to be any lower and if I want it higher I can add wood to the bottom of the feet. One down and another to go. One thing I am going to do with my saw donkeys is that I'm adding an X brace to the legs.
accidental woodworker
trivia corner
What is the most shoplifted book in the world?
answer - the Bible


0 komentar:
Posting Komentar