The bookcase adventures continue with the drawer. Once the drawer is done, I'll be moving on into the adventure land of finishing. I am getting excited about filling this bookcase up. I counted 5 piles of books around the house so this is needed. I can't put the cart before the horse though and I have to get a drawer made first.
 |
| tails done pins are next |
I had to layout the tails twice here. On the first go, I forgot that the back is a half inch less in width then the sides. I caught that because I knew the bottom of the back was a half pin. You can erase pencil lines and start over. It's very hard to do that with saw cuts. This is where doing something the same way, every time, paid off. I knew something was wrong before I made a saw cut.
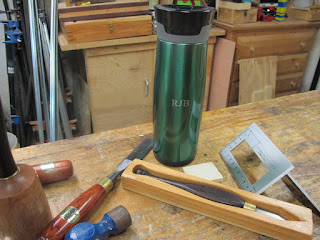 |
| xmas gift from Amanda |
A new coffee mug with my initials on it.
 |
| back dry fit is good |
 |
| gaps from yesterday are gone |
The middle and top tail socket closed up a lot. I dug some bits and pieces from the back edge and corners out. Still have a slight gap but I think that is because I moved the knife wall when I chopped the sockets.
 |
| the other side |
This side is closed up too. It's flush on the outside but there is still a tiny gap on the inside. This looks like my through dovetails when I first started out making them. I had these gaps and they have slowly closed and disappeared. It took me a while to realize that as careful as I thought I was being, I was still moving the knife wall on the first and second chops.
 |
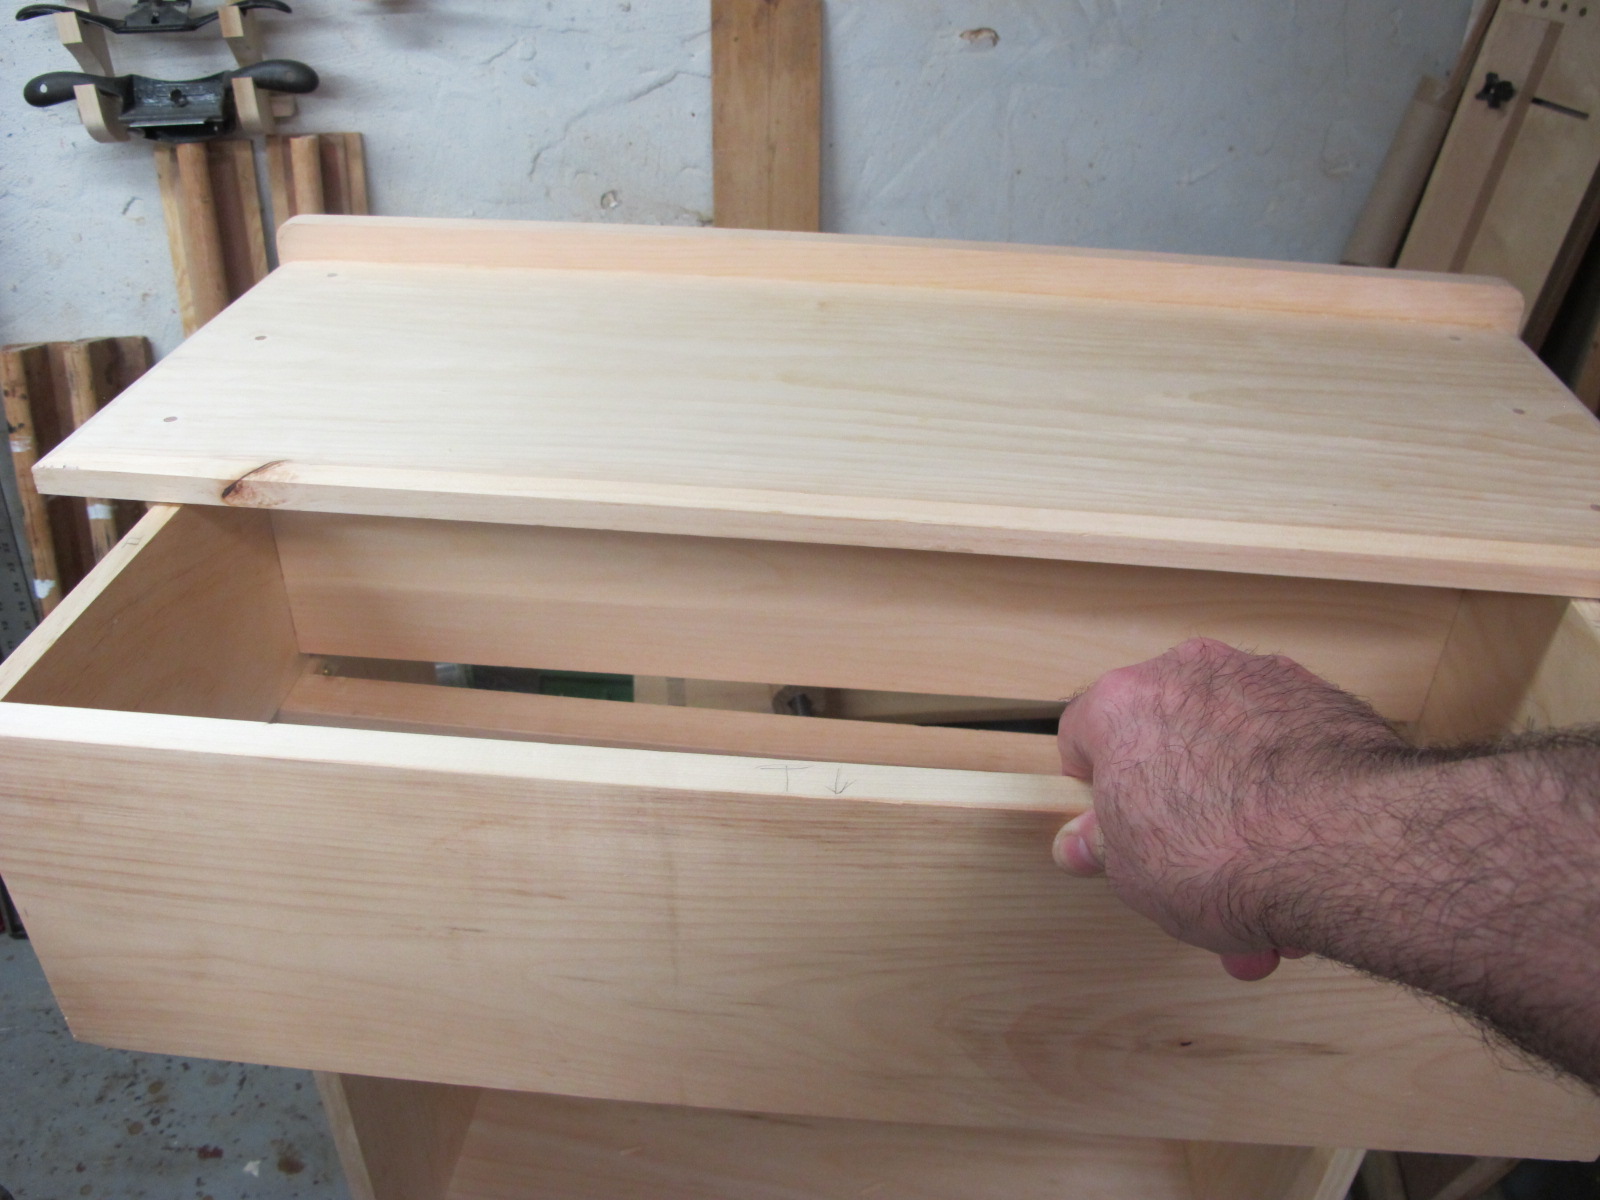
| dry fit check of the drawer |
 |
| no surprises |
The drawer is almost a perfect fit in the opening. The clearances R/L and top/bottom are good. The gaps aren't excessive and the drawer doesn't wander all over pulling it out and pushing it back in. I don't think the glue up will change this much.
 |
| trying something new |
The drawer front is 3/4" thick so I can easily put a 1/4" groove in it without compromising it. I don't want the groove to show on the ends so I'm going to make a stopped groove. I chopped a starting dado on this end first.
 |
| made it too short |
I did not check this until after I was done. From the front of the plane to the front edge of the iron it is about an 1 5/16". The next outing I'll know to make this starting dado at least 1 1/2" long.
 |
| this one is way too short |
I knew that this one was too short but in order for this to work I would have had to make it too long. I picked 2" as being enough to get the plane going.
 |
| back portion is ramped |
You can see how long this starting dado would have to be. It isn't necessary to do that and if I did, I might as well have done the whole groove by hand.
 |
| left side |
 |
| right side |
This end of the groove is a bit ragged out. This end had the ramp and I was a bit too ham fisted with the hand router getting it depth. Another hiccup was that I didn't knife the walls ahead of the router. That would have eliminated most if not all of the ragged out portion.
 |
| glued and set aside to cook |
This drawer joinery was snug enough to stay together and square without the clamps. The front of the drawer is slightly bowed causing the top right dovetail gap on the outside. The quick grips closed up most of it but not all of it. I could have put a larger clamp on but I didn't want do that. The quick grips closed up what I could do with hand pressure which I feel the glue will hold. A stronger clamp would have closed it entirely but I think that would have stressed the corner too much.
 |
| sticking board |
It's been a while since I last used this. I had to wipe a lot of shop dust off it before I could use it. I needed this to hold the drawer slip while I plowed the groove.
 |
| round over is done |
I can get 3 pieces out of this. I only need two at about 9 1/2" long.
 |
| now it's done |
I like the thin look of this drawer slip. I'm not sure if it's too thin but to my thinking, the force on the drawer bottom acts on the bottom of the groove. The thickness doesn't matter much other then providing a surface to glue to the side of the drawer. This slip is 3/4'" high and 3/8" thick.
 |
| something new for me |
I think this will be second time that I have used solid wood for a drawer bottom. I used solid wood in the drawers I made on my sharpening bench for my first time. I found a couple of pieces of pine that I can use for this drawer.
 |
| wee bit off |
I measured this with a tape measure and I thought I was right on. I double checked it with a stick and I'm shy by a 1/2". I let this set up and after lunch I glued on another piece.
 |
| another hiccup |
My drawer slips won't work. When I laid out the groove I forgot to raise it up a 1/4" to account for the bottom of the drawer slip.
 |
| not going to work |
The bottom of the slip when aligned with groove in the drawer front, extends beyond the bottom of the drawer. I should have listened to the voice that told me it was wrong. I thought I was doing it right. I had the bottom of the groove aligned with the bottom of the drawer. Instead it should have been aligned with the bottom of the drawer slip.
 |
| the fix - step one |
I'll be fixing this the way I first wanted to do this. I'll be putting in a mitered 3 piece drawer slip and that will be a new way for me. I skipped doing it because the drawer front was 3/4" thick and it didn't need a front slip. Step one is filling in the groove with a 1/4" strip of pine.
 |
| step two |
Making new drawer slips. I didn't want the hassle of trying to match the drawer slips I already made. Since I have to make one that is 27" long, it's better to start from ground zero. This way the front and two sides will be the same. I made the new slips in one piece of wood on opposite sides. I did it this way so I would be planing with the grain on both grooves.
 |
| new slips are done |
 |
| stopped here and got chinese for lunch |
 |
| gluing on the last piece |
I planed these two pieces separately and I was surprised that they fitted on the first try. I was expecting a bit of fussing before I applied any glue.
 |
| it shy of being flush |
The other side is flush as is the other joint line. This side will be the bottom so this really wouldn't matter but I plan on thinning this down to around a 1/2" thick.
 |
| clamp pads |
I went nutso and made 86 of these for 8 clamps. I only need 16 (for now) and 70 of them will be stuck in a drawer somewhere. I noticed the last time I used these I left the impression of the metal clamp heads in the wood.
 |
| undersized by two hairs |
I don't have all the options to put these on with the many ways I have seen -hot glue, epoxy, poly glue, crazy glue, double sided tape, and et al (etc).
 |
| double sided tape wins |
I don't have any of the other options and I'm not sure that I would use them if I did. I don't like the permanent nature of some of them. With double sided tape it is relatively easy to replace a pad if needed without damaging the metal head.
 |
| miter cuts on the new drawer slips |
I did the miters on one end of the drawer slips so I could gauge how well the profiles meet. It's off a wee bit but I'm leaving it as is. It's the interior bottom corner of a drawer and won't be seen.
 |
| drawer slips are done |
I could get a direct measurement of the front drawer slip in situ so I went ahead and did the final mitering of them. I will glue this up tomorrow.
 |
| trial fit with a scrap piece |
I don't want to make a mistake with the new drawer slips. I was having problems visualizing how to notch this. I want the slip to go from the front of the drawer to the outside of the back.
 |
| got it right |
The groove has to align with the bottom of the back of the drawer and the slip has to be flush with the bottom of the side. I got it right on the first try. I did two layout lines in case my first one was OTL (out to lunch).
Tomorrow I should be able to finish the drawer and get the bottom installed. Then I can decide whether or not to put knobs on the drawer. My initial thoughts were to put a grab hold on the inside bottom leaving the front of the drawer clean. We'll have to wait and see what shakes out.
accidental woodworker
trivia corner
What did Lizzie Borden, Napoleon, and Titian have in common?
answer - They were all redheads


0 komentar:
Posting Komentar